1405 N Waverly St
Ponca City, OK 74601
For Sales and Dealer Inquires:
580-749-7857
Jay@CenturyProductsUSA.com
Donna@CenturyLivesto
Home
find a dealer
Warranty
Contact
PRODUCTS
Hay Feeders
Original 8'x46" Hay Feeder
Hay Feeder 8'x56" with Bar Kit
Cone Hay Feeder 8'X56"
Horse Feeder
Big Country Feeders
Bull Feeder
Small Feeder 5'x24"
Mineral Feeders
Small Animal Huts
Cattle Oilers
Poly Stock Tanks
Steps
HDPE pipe
Outdoor
Team
JOBS
Contact
BECOME A DEALER
Find a Dealer
VIDEOS
Catalog
Helpful articles
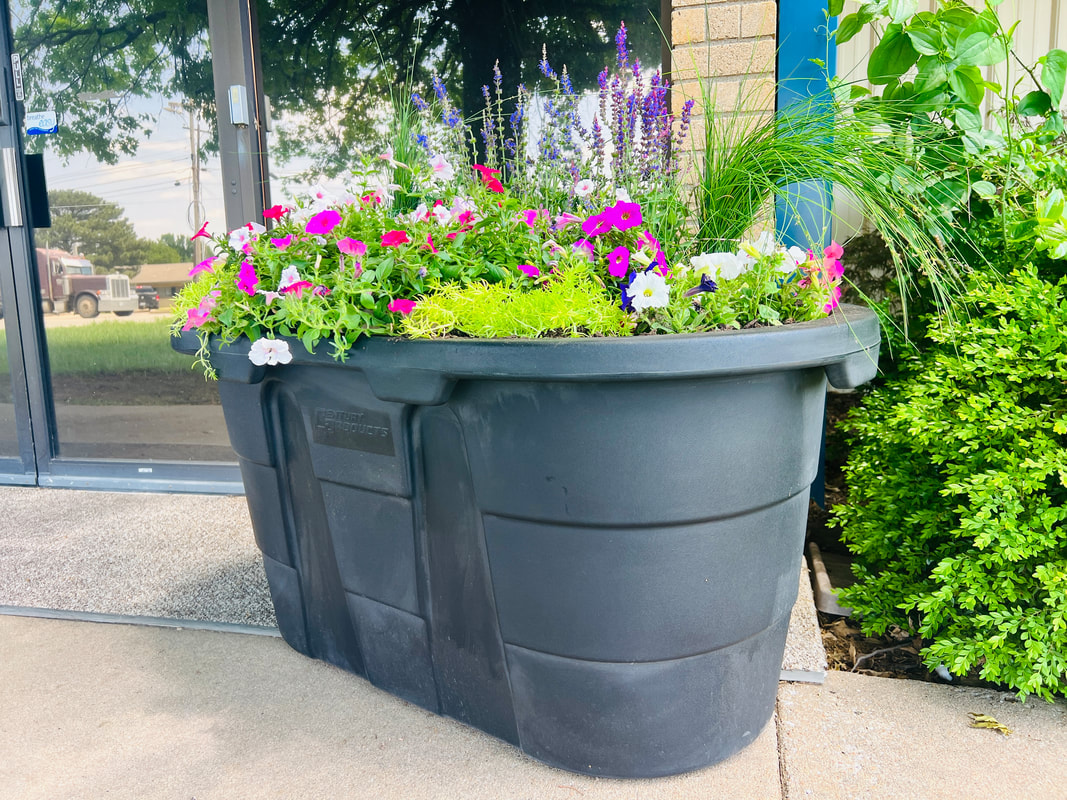
Poly Stock Tanks Make
Great Planters!
READ ARTICLE
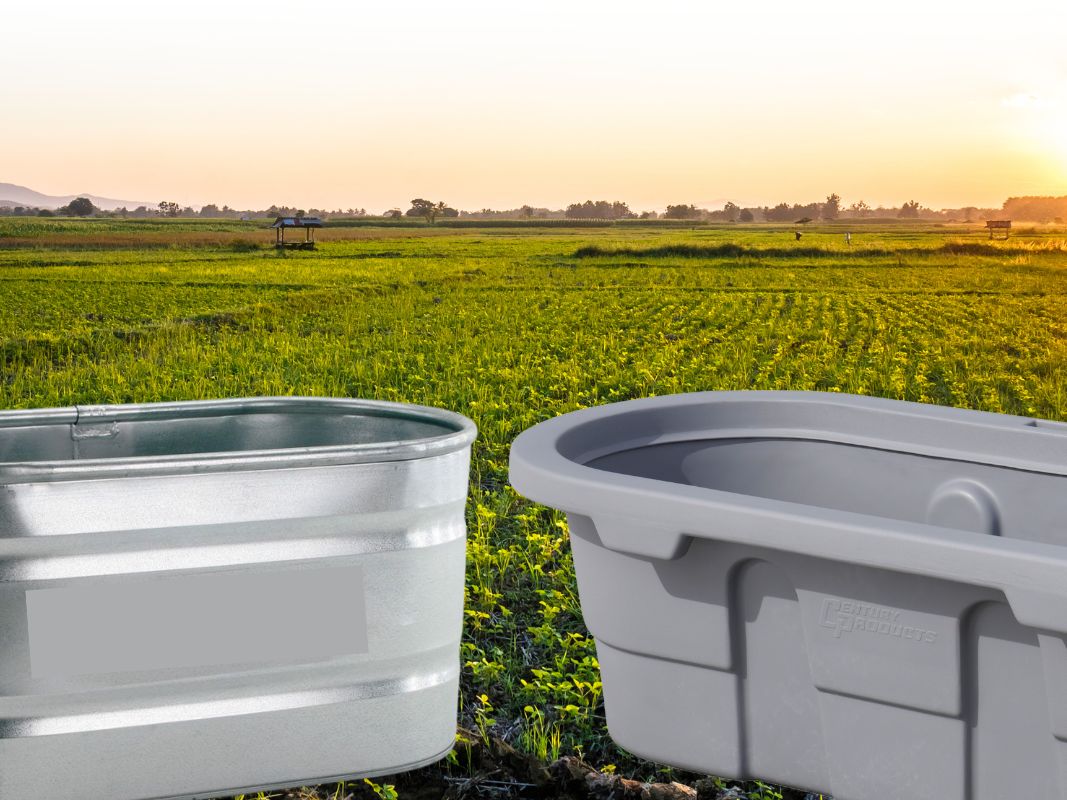
Which is Better: Galvanized Stock Tanks or Poly Stock Tanks?
read article